Making homemade rice krispie treats is not only simple, but it’s also cost-effective, yielding a delicious dessert everyone loves. With just a few ingredients and a dash of creativity, you can turn this classic treat into something special. This guide covers everything you need to know, from the basic recipe to flavor variations, storage tips, and more.
If you enjoy learning about ingredients in depth, then exploring gluten-free flour options for muffins might inspire you to experiment with different bases in these treats as well.
Ingredients Needed
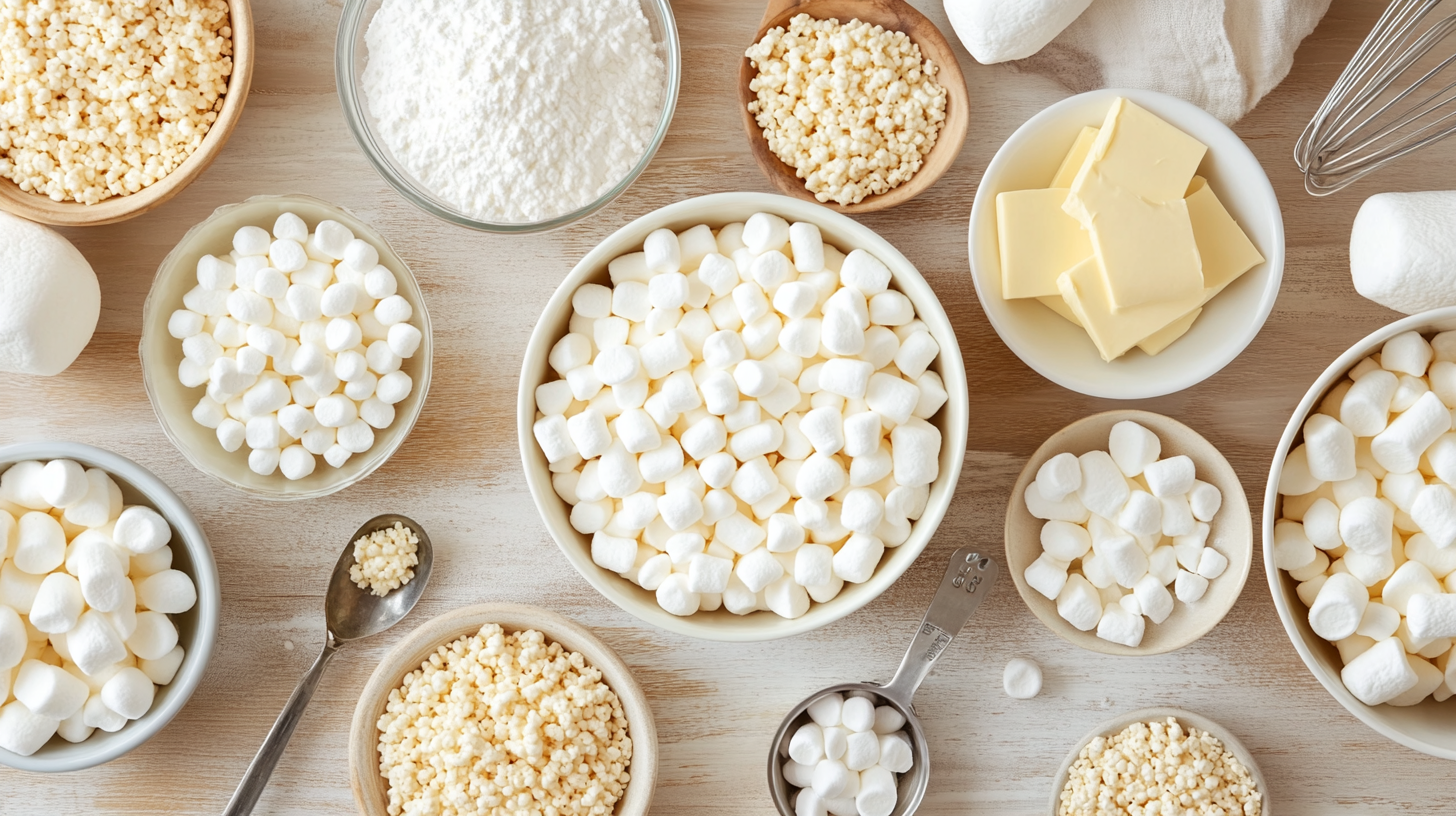
 To make classic rice krispie treats, you’ll need a few essential ingredients:
- Rice Krispies cereal: 6 cups, which provides the main structure.
- Mini marshmallows: 4 cups, with fresh marshmallows giving a better texture.
- Butter: 3 tablespoons, essential for richness.
- Optional: vanilla extract, chocolate chips, peanut butter, or sea salt for added flavor variations.
Since using high-quality, fresh ingredients is important, you’ll ensure the best gooey and chewy texture by selecting them carefully. For a fun twist, you could even try incorporating flavors you love from other desserts like pineapple sunshine cake, mixing fruity elements into the classic treat for extra flavor.
Classic Rice Krispie Treat Recipe
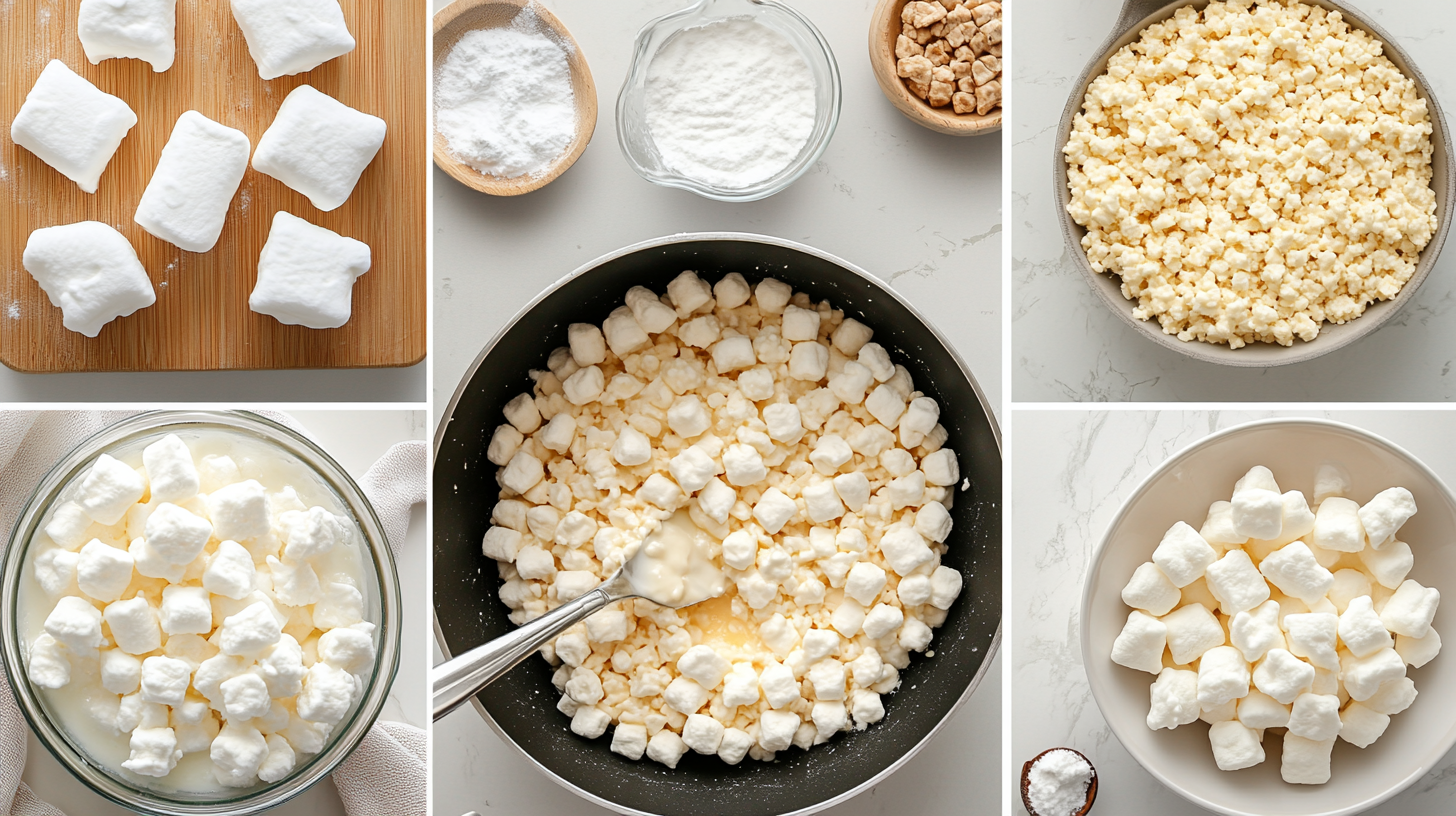
To make the basic recipe, follow these steps:
- Melt the Butter
- To start, in a large saucepan, melt butter over low heat, ensuring a smooth, rich texture.
- Add Marshmallows
- Next, gradually add marshmallows and stir until they are fully melted, being careful to keep the heat low to maintain a soft texture.
- Mix in the Cereal
- After that, remove the pan from heat and add Rice Krispies cereal, stirring until each piece is well-coated.
- Transfer and Cool
- Finally, pour the mixture into a greased pan and press it lightly with a spatula. Allow it to cool completely before cutting into pieces.
For extra flavor, you could add vanilla extract or chocolate chips at this stage. If you’re curious about other dessert textures, consider checking out ways to maintain moisture in bakes like the pineapple upside-down cake, which provides useful tips that can work for rice krispie treats too.
Flavor Variations and Add-Ins
Adding a twist to your rice krispie treats is both fun and easy. Here are some exciting ideas:
- Chocolate Lovers: For a richer taste, mix in chocolate chips or drizzle melted chocolate on top for added decadence.
- Peanut Butter Twist: Alternatively, you can add a spoonful of peanut butter to the melted marshmallow mix for a nutty flavor.
- Salted Caramel: You could also swirl in some caramel and sprinkle with sea salt to balance sweetness.
- Holiday-Themed Treats: For a festive touch, use marshmallows in holiday colors or add colored sprinkles.
Add-ins like crushed candy or different cereals create a unique spin on the classic treat, much like the creative approach in recipes such as cheesecake bars, which use layers and textures to keep things interesting.
Tips for Perfect Texture
Getting the texture just right is crucial for making homemade rice krispie treats that everyone will enjoy. Here are some top tips to help you achieve the best results:
- Low Heat is Key: First of all, keeping the butter and marshmallows melting over low heat prevents the treats from becoming too hard.
- Press Lightly: Additionally, over-compressing the mixture in the pan can lead to dense treats, so press gently.
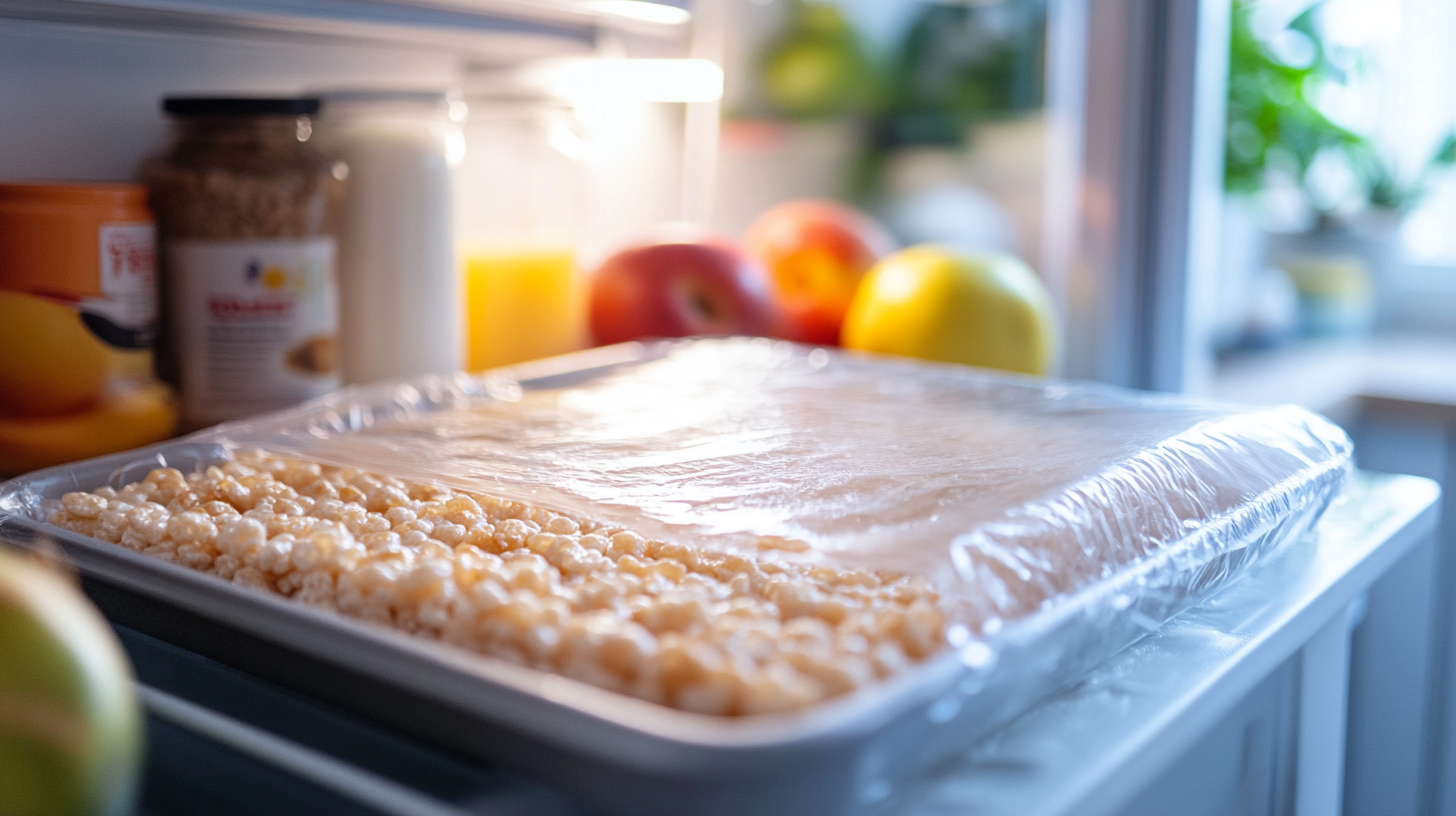
- Store Properly: Finally, to keep your treats from going stale, wrap them in plastic wrap or store in an airtight container to maintain freshness.
Storage and Serving Suggestions
With proper storage, your rice krispie treats can stay fresh and chewy for several days. Here’s how to do it:
- Room Temperature: First, store them at room temperature in an airtight container for up to a week.
- Freezing: For longer storage, wrap each treat individually in plastic wrap, place them in a freezer bag, and freeze for up to six weeks.
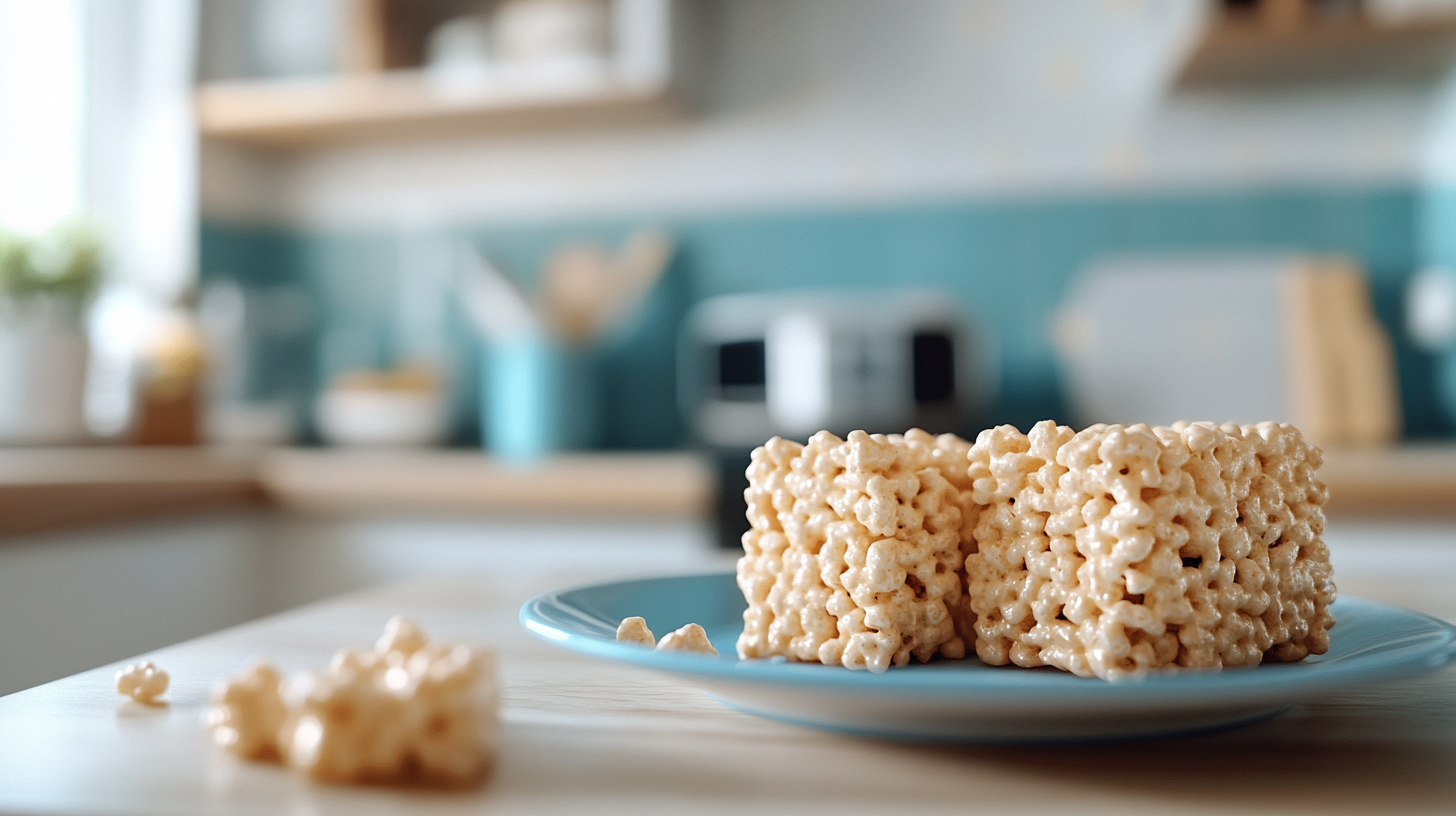
- Serving Ideas: To serve, cut treats into fun shapes or create treat pops with lollipop sticks to make them extra festive.
Nutritional Information
While rice krispie treats are a sweet indulgence, they can still be made healthier by reducing sugar or butter. Here’s a basic breakdown of the nutritional profile for a standard serving:
- Calories: Approximately 150 per serving
- Fat: 4 grams
- Carbohydrates: 27 grams
If you’re interested in lighter options, consider experimenting with lower-calorie ingredients, such as using reduced butter or opting for low-sugar marshmallows.
Frequently Asked Questions (FAQs)
Why Are My Rice Krispie Treats Hard?
Using high heat while melting the marshmallows is the most common cause of hard treats. Thus, to achieve a soft and chewy texture, melt the marshmallows on low heat.
Can I Freeze Rice Krispie Treats?
Yes, rice krispie treats can freeze quite well. Be sure to wrap each treat individually in plastic wrap and place them in an airtight container.
What Can I Use Instead of Marshmallows?
If you’re looking for a marshmallow substitute, you could try using a mix of honey and nut butter, which binds the cereal together while adding a more natural sweetness.
How Long Do Homemade Rice Krispie Treats Last?
At room temperature, homemade rice krispie treats will stay fresh for about a week. If frozen, they can last up to six weeks.
Creating homemade rice krispie treats can be as straightforward or inventive as you’d like. So go ahead, enjoy experimenting with flavors, and remember to share your creations with family and friends!

