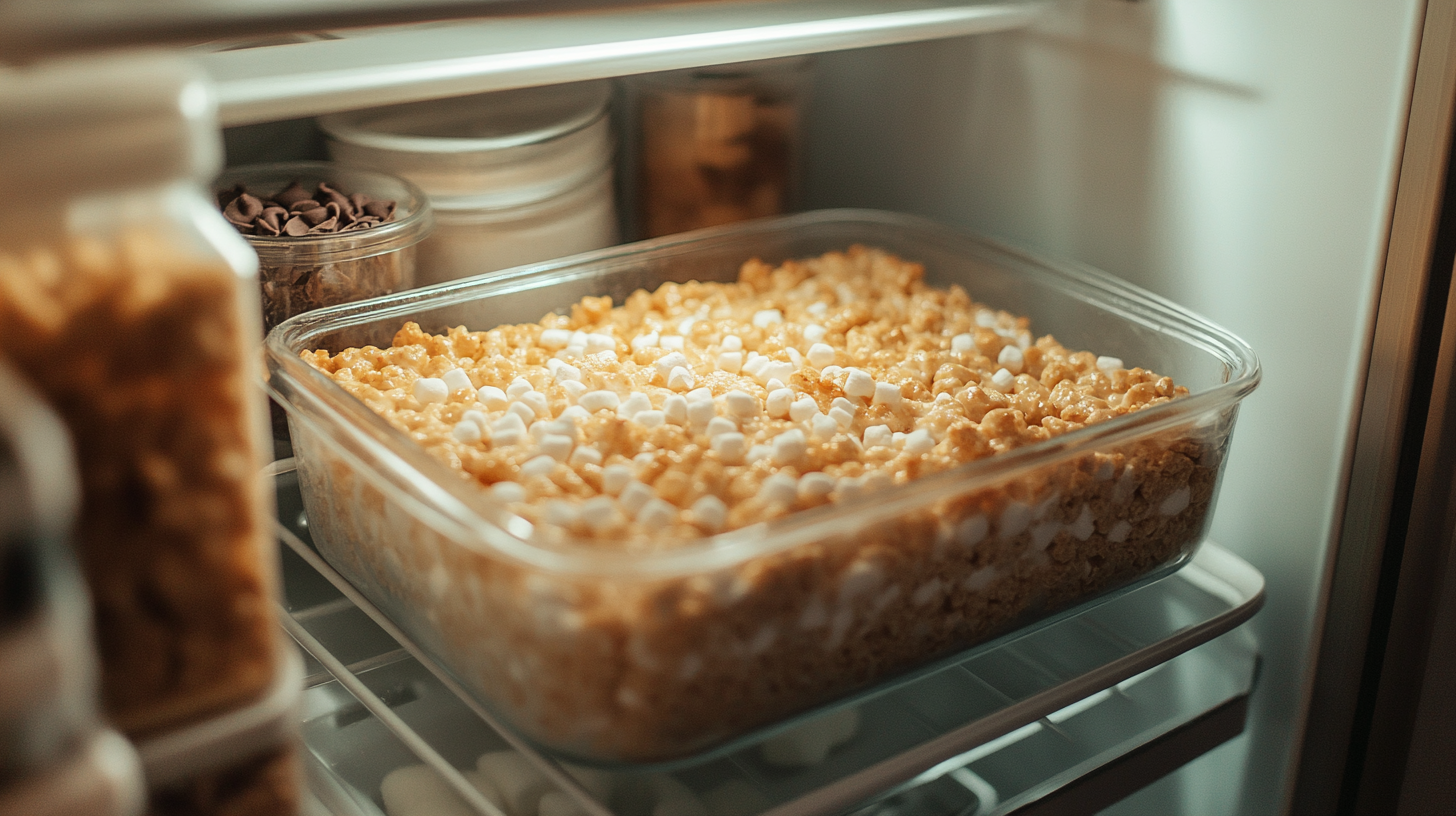
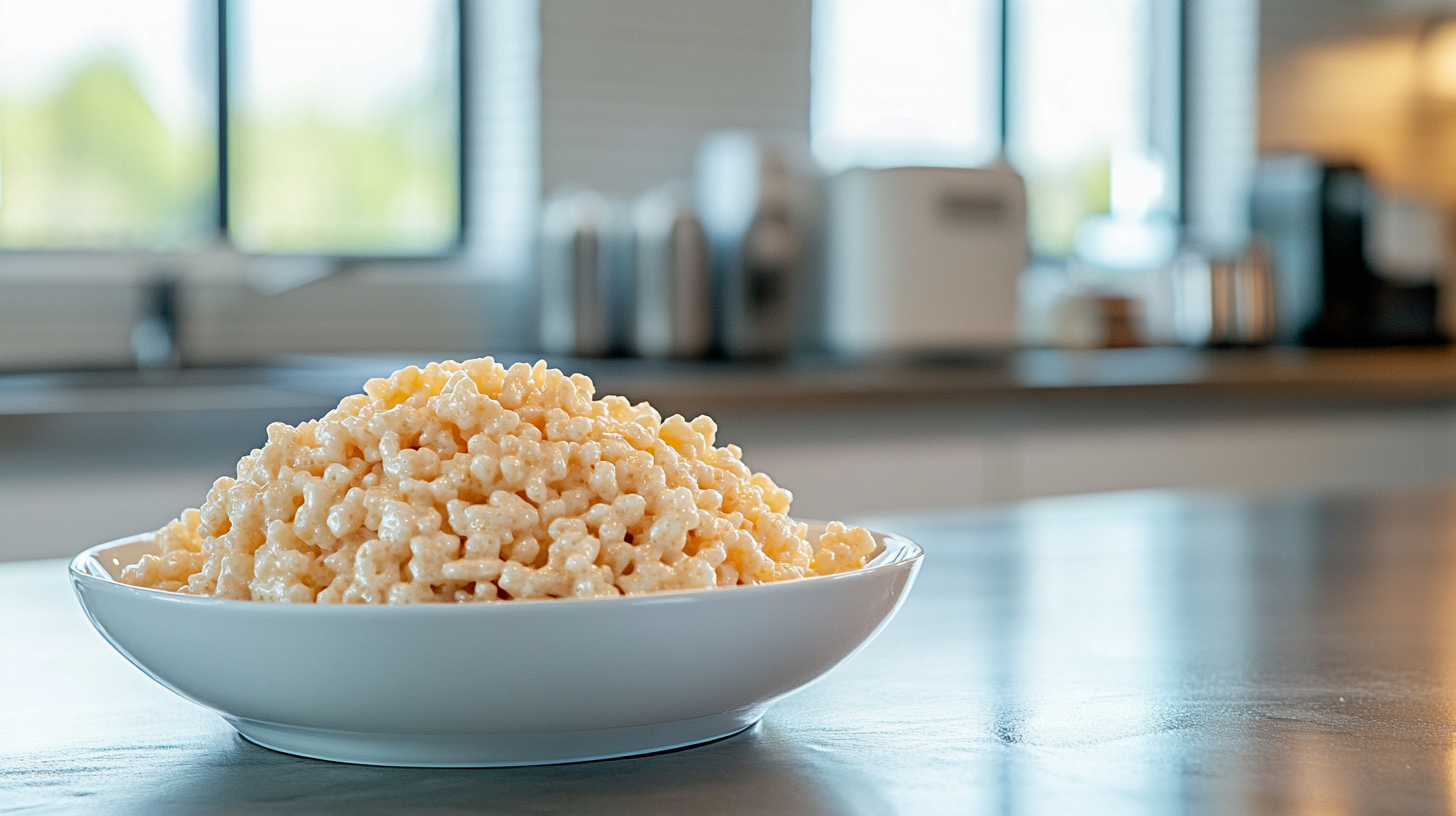
Creating your own Rice Krispies treats at home is a fantastic way to enjoy this nostalgic snack while adding your personal touch. Not only are they simple to make, but they’re also perfect for any occasion. Whether you’re aiming for a classic recipe or hoping to add some creative flair, this guide has you covered every step of the way.
To begin, mastering the basics is essential. Check out these straightforward steps for making homemade Rice Krispie treats that turn out soft, chewy, and full of flavor every time. Additionally, if you’re wondering why some homemade Rice Krispies end up too hard, don’t miss the tips in this guide on why homemade Rice Crispy treats might be hard, which will help ensure your treats come out perfectly.
Ingredients and Tools You’ll Need
To make Rice Krispies treats from scratch, here’s everything you’ll need:
- Ingredients
- Butter (salted or unsalted, based on your preference)
- Marshmallows (mini marshmallows are ideal as they melt quickly)
- Rice Krispies cereal (about 6 cups for a standard batch)
- Equipment
- Large saucepan
- Rubber spatula
- Baking dish lined with parchment paper for easy removal
Using fresh, high-quality ingredients—such as good butter and marshmallows—can elevate your treats significantly, ensuring they turn out soft and gooey. For more tips on creating the perfect consistency, consider exploring our homemade Rice Krispies treats guide.
Step-by-Step Recipe for Classic Rice Krispies Treats
To achieve the perfect classic Rice Krispies treats, follow these simple steps:
- Melt the Butter
- First, place about 3 tablespoons of butter in a large saucepan and melt over medium heat. Be careful not to let it brown, as this could impact the flavor.
- Add Marshmallows
- Once the butter has fully melted, add one bag (10 ounces) of marshmallows. Remember to stir continuously, as this helps them melt evenly and prevents burning.
- Mix in the Rice Krispies Cereal
- After the marshmallows are melted, remove the pan from heat and fold in the Rice Krispies cereal. Stir gently until every piece of cereal is fully coated with the marshmallow mixture.
- Transfer to a Baking Dish
- Finally, pour the mixture into your prepared baking dish. Use a spatula to press down lightly, creating an even layer. Allow it to cool for about 30 minutes before cutting into squares.
With these steps, you’ll have perfect, classic Rice Krispies treats every time!
Customizing Your Rice Krispies Treats
If you’re interested in making your treats unique, try these exciting add-ins and flavor ideas:
- Chocolate Chips and Peanut Butter
- Consider adding chocolate chips or a spoonful of peanut butter to the melted marshmallow mixture for an extra layer of richness.
- Vegan Options
- If you’re following a plant-based diet, swap butter with coconut oil and use vegan marshmallows for a delicious vegan-friendly version.
- Extra Flavors
- You can also enhance the flavor with a teaspoon of vanilla extract or a sprinkle of sea salt for a gourmet touch.
These options allow you to customize your Rice Krispies treats in various ways.
Flavorful Variations of Rice Krispies Treats
For those looking to put a twist on the traditional recipe, consider these creative variations:
- Chocolate Rice Krispies Treats
- Try melting 1/2 cup of chocolate chips with the marshmallows for an indulgent, chocolatey version that’s perfect for chocolate lovers.
- Peanut Butter Combo
- Alternatively, add 1/4 cup peanut butter and a handful of chocolate chips for a Reese’s-inspired flavor combination.
- Seasonal Flavors
- To get festive, consider experimenting with flavors like pumpkin spice, peppermint, or even fruity variations by using flavored marshmallows.
With these ideas, you can easily turn a simple treat into something extraordinary for any occasion.
Creative Shapes and Presentation Ideas
If you want to elevate your treats’ presentation, here are some creative ideas:
- Fun Shapes
- Using cookie cutters allows you to shape your treats into stars, hearts, or any theme you like. This is perfect for parties or themed events.
- Layering and Drizzling
- For an added decorative touch, you could also drizzle melted chocolate or frosting over the top, adding both visual appeal and extra flavor.
- Gift Wrapping
- For those who enjoy gifting homemade treats, wrap each treat in colorful cellophane bags to create a charming, edible present.
By using these tips, you can transform your Rice Krispies treats into eye-catching creations.
Troubleshooting Common Issues
To help you achieve perfect results, here’s how to address common issues:
- Prevent Hardness
- To keep treats from turning hard, it’s important to keep the heat low while melting butter and marshmallows. High heat often leads to tough, compact treats.
- Softness and Gooey Texture
- For a softer, gooier texture, add extra marshmallows or an additional tablespoon of butter. Additionally, pressing the mixture gently into the pan helps avoid compacting, which can make treats too dense.
- Sticky Mixture Solutions
- If you find that the mixture is too sticky to handle, use cooking spray on your spatula or hands to make pressing and handling easier.
If you’d like further tips, consider reading our full troubleshooting guide to understand why some treats turn hard and how to prevent it in our homemade Rice Krispies treat tips.
Healthier Alternatives
For those who prefer a healthier spin on Rice Krispies treats, here are a few alternatives to try:
- Natural Sweeteners
- Instead of marshmallows, you could substitute with honey or almond butter to lower the sugar content while still enjoying a sweet treat.
- Whole-Grain Cereal
- Opting for whole-grain Rice Krispies can add fiber and a slightly different, more complex flavor profile.
- Nutritional Boosters
- Adding chopped nuts, seeds, or dried fruits to the mixture increases the nutritional value, making the treats more substantial as a snack.
These substitutions are a great way to enjoy Rice Krispies treats in a healthier, more nutrient-dense way.
Frequently Asked Questions
1. How should I store Rice Krispies treats?
Store them in an airtight container at room temperature for up to three days. For longer storage, refrigerate them to keep them fresh.
2. Can Rice Krispies treats be frozen?
Yes, they can! Wrap each treat individually in plastic wrap and place them in a freezer-safe bag. They’ll stay fresh in the freezer for up to three months.
3. Why did my treats turn out hard?
Usually, this issue occurs due to cooking the marshmallows over high heat. To avoid this, try lowering the heat and stirring continuously for a smoother result.
By following these guidelines, you can easily troubleshoot any issues that arise.
Conclusion
In conclusion, making Rice Krispies treats at home is not only simple but also incredibly rewarding. Whether you prefer sticking to the classic recipe or enjoy experimenting with new flavors, these treats offer endless possibilities. For the best results, make sure to follow each step carefully and try out some of the creative variations we suggested. So, go ahead, have fun, and make a batch of delicious Rice Krispies treats for yourself and others to enjoy!

